Tutorial
This is the guided, end-to-end path: start from nothing and finish with a
working viewer that shows the full UniProt annotation for a protein plus your
own track, recoloured to match your site. It’s one continuous example on a
single protein: P05067, amyloid
precursor protein, the reference accession used throughout these docs.
Each step ends with a Try it live link that opens the exact setup in the playground, so you can see it render and edit it without leaving the browser. When you want the full detail behind a step, follow the links to the how-to guides.
The quickest way to follow along is the Starter Kit: a no-build template repository you can copy and open straight in the browser. You can also work in your own page served by any static file server or your app’s dev server, or use the playground for the config-only steps. No build tooling is required.
Step 1: Add the component and point it at an accession
Section titled “Step 1: Add the component and point it at an accession”<protvista-uniprot> is a web component: a custom element that works in any
page with no bundler or framework. Load it once and drop the tag in with an
accession:
<script  type="module"  src="https://cdn.jsdelivr.net/npm/protvista-uniprot@5.0.0-beta.2/dist/protvista-uniprot.mjs"></script>
<protvista-uniprot accession="P05067"></protvista-uniprot>
That address serves the published v5 beta straight from npm, so there is nothing
to install. Pin the exact version, as above: @beta and @5 would move under
you as the beta develops.
To build it yourself instead, clone the repository and copy the contents of
dist/ next to your page. Copy the whole folder, not just the one file: the
build is split up, so protvista-uniprot.mjs loads errors.js and
filter-config.js from the same place (and format.js / js-yaml.js when it
needs them), and will not run on its own.
git clone https://github.com/ebi-webcomponents/protvistacd protvistayarn install && yarn build# then copy the contents of dist/ next to your HTML pageEither way, the accession attribute on its own gives you the full default
UniProt viewer for that protein: domains, variants, binding sites, structure
coverage, AlphaFold confidence, and more. No config required.
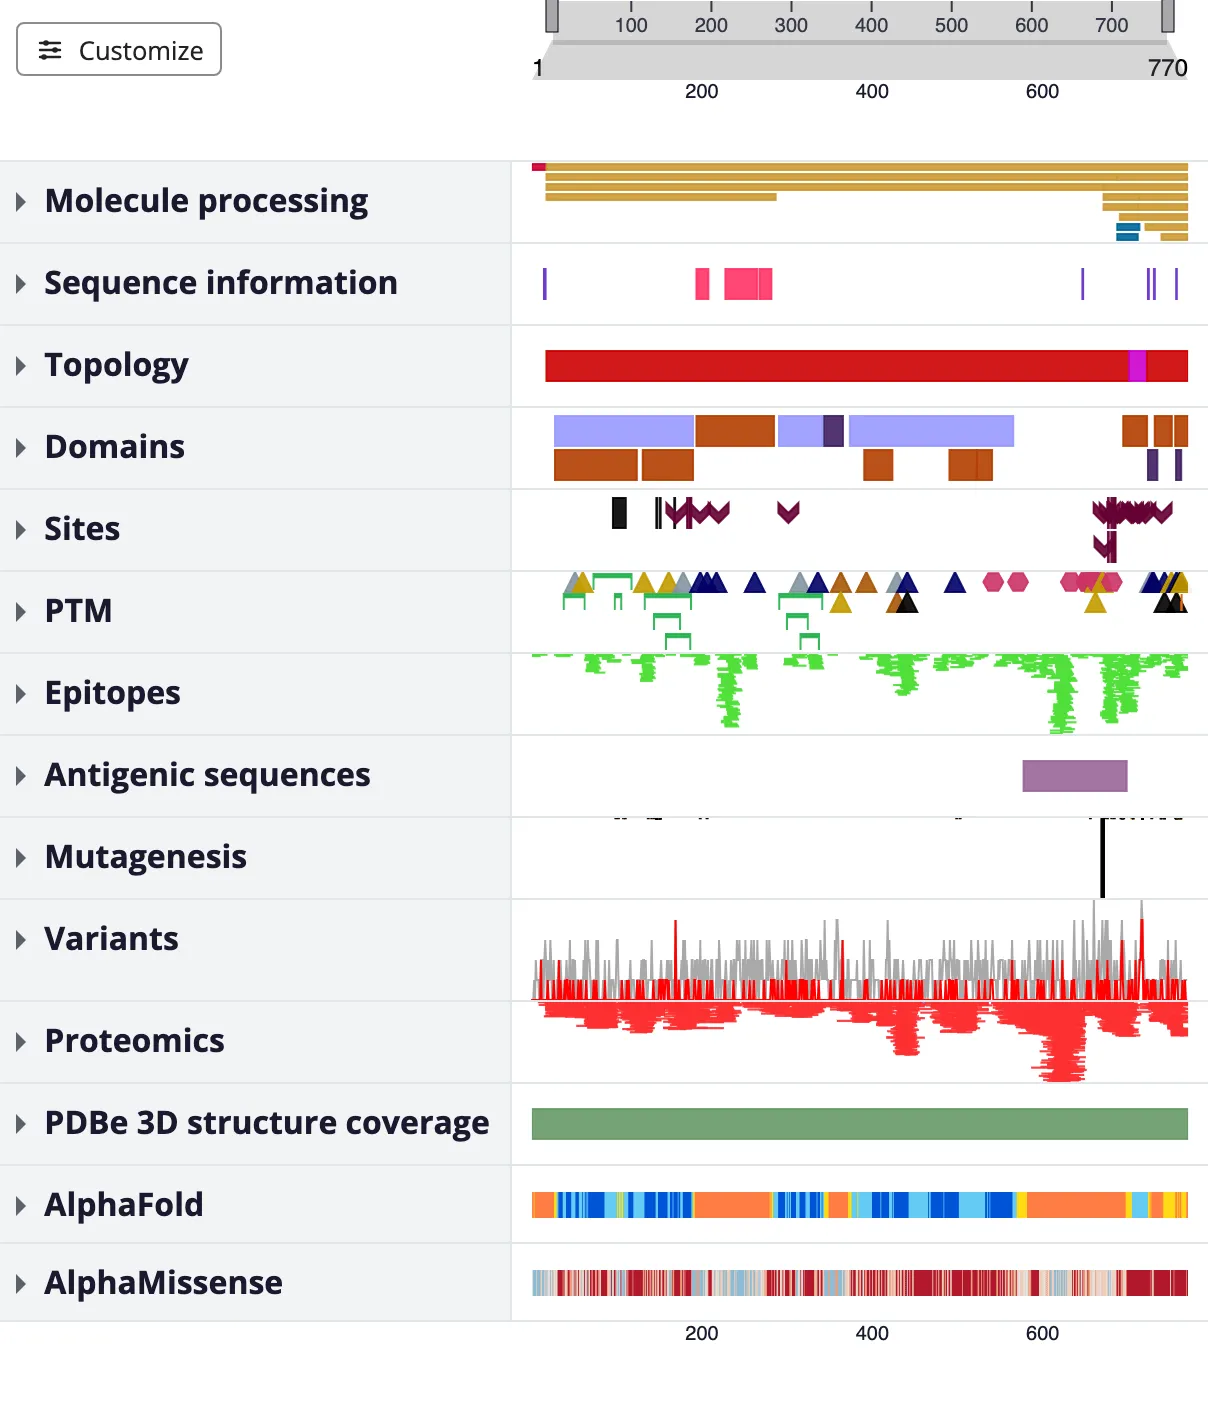
The full default UniProt viewer, from one accession and no configuration.
Embed the viewer covers both ways to load the component and
every attribute (config-src, notooltip, nostructure, …).
Step 2: Add your own track from a CSV
Section titled “Step 2: Add your own track from a CSV”Now bring your own annotations. A features track can read a CSV file
directly: point data: at the file and the .csv extension picks the parser for
you: no adapter: needed.
Say your lab has flagged some hotspot regions. Put them in a CSV with the
feature-record columns type,start,end,description,score:
type,start,end,description,scoreDOMAIN,18,289,Extracellular domain (custom re-annotation),0.95BINDING,132,140,Predicted heparin-binding site,0.87REGION,290,340,Acidic-rich linker region,0.6MUTAGEN,614,614,Lab-observed loss-of-function point mutation,0.75Then describe a viewer that shows just that file as one standalone track (a
rows: entry with data: and no tracks: needs no group wrapper):
accession: P05067rows: - id: hotspots label: Hotspots kind: features data: ./hotspots.csv description: Hotspot regions identified by our lab's pipelineSave the config as my-config.yaml next to hotspots.csv and point the element
at it:
<protvista-uniprot config-src="./my-config.yaml"></protvista-uniprot>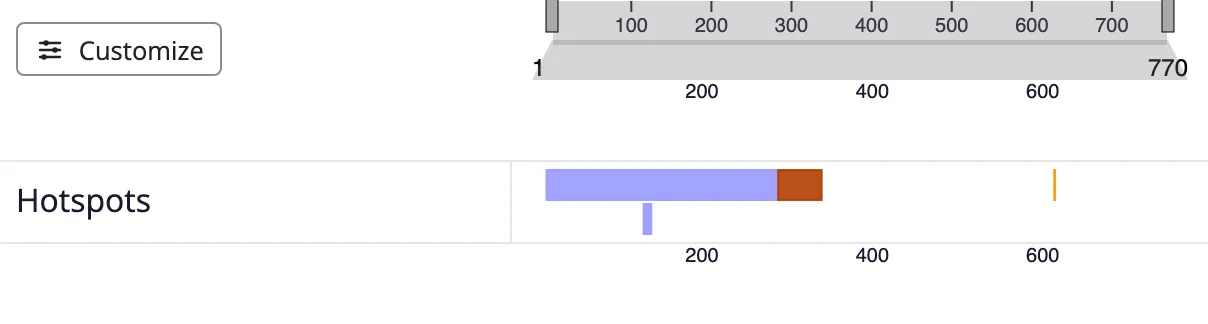
A standalone track loaded from a CSV file.
Load your own data covers the full feature record and the TSV, JSON, and BED formats.
Step 3: Layer it onto the full UniProt viewer
Section titled “Step 3: Layer it onto the full UniProt viewer”A standalone track is a viewer of its own. More often you want your track on top
of everything UniProt already provides. Instead of rebuilding the default
viewer, extends it: you inherit all its sources, groups, and themes, and
declare only your addition.
The custom data can be simpler here — the default viewer supplies the rest:
type,start,end,description,scoreDOMAIN,18,289,Custom re-annotation of the extracellular domain,0.9BINDING,614,614,Lab-observed candidate binding residue,0.72accession: P05067extends: /src/default-config.yaml
rows: - id: MY_LAB label: My lab tracks: - id: hotspots kind: features data: ./hotspots.csv description: Hotspot regions identified by our lab's pipeline, layered on top of the canonical UniProt viewerThat’s the whole config: the full canonical viewer, with a My lab group added at the end.
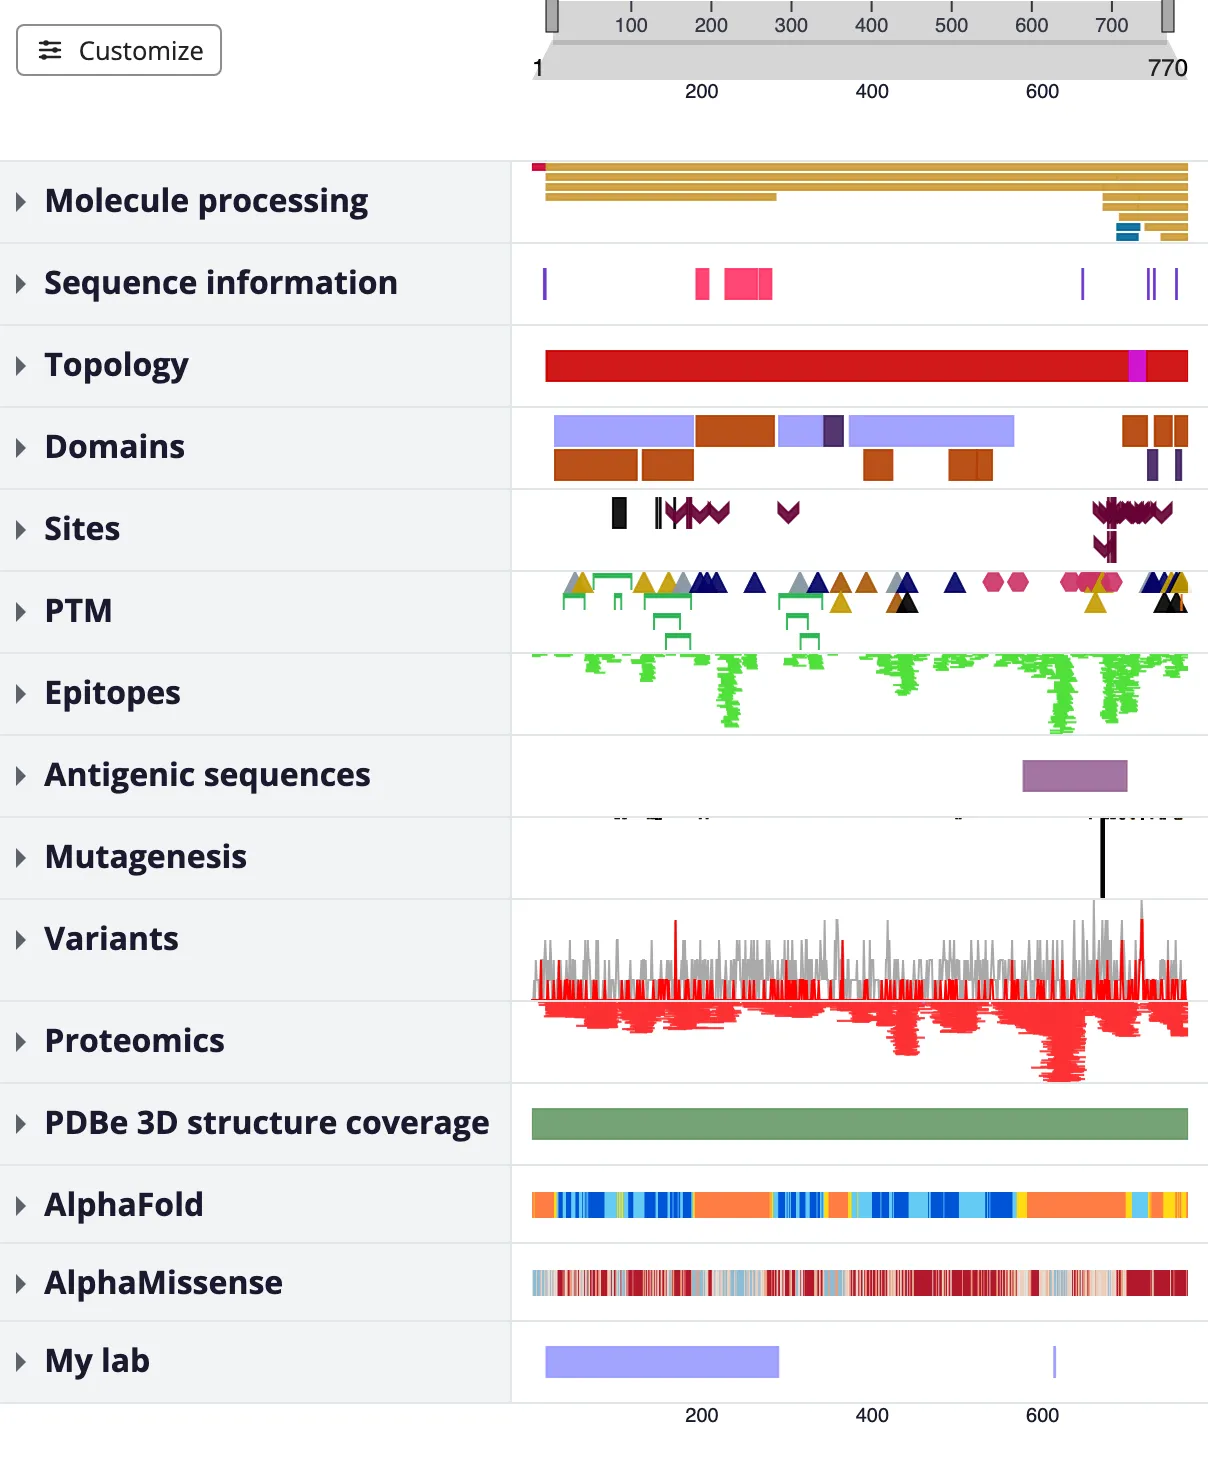
A lab’s own group layered on top of the canonical UniProt viewer with extends:.
Step 4: Style it
Section titled “Step 4: Style it”Finally, make it yours. There are two levers, no rebuild required.
No code: from the config. A theme: block recolours the viewer chrome
directly, so an author who doesn’t write CSS can still brand the viewer.
labelColor sets the row-label panel; the optional accentColor sets focus
rings and the datatable’s active-row marker:
theme: labelColor: '#e8f5e9' accentColor: '#2e7d32'From your page’s CSS. For full control, <protvista-uniprot> exposes
--protvista-* design tokens and ::part hooks — set them in ordinary CSS on
the page:
protvista-uniprot { --protvista-color-accent: #7b2d8e; --protvista-group-label-bg: #efe6f5;}Theme the viewer lists every token and the datatable
::part hooks.
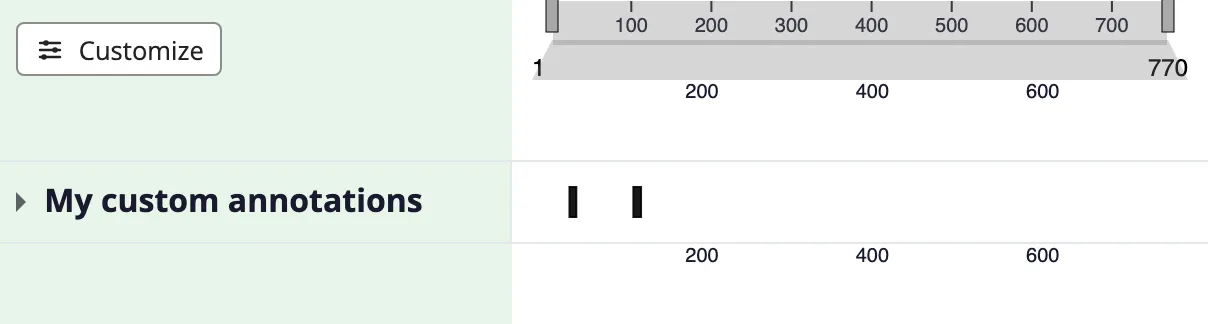
The inline-data preset’s theme: block: labelColor tints the row-label panel.
You’re done
Section titled “You’re done”You went from an empty page to a viewer that shows the full UniProt annotation for a protein, adds your own track from a CSV, and matches your site’s colours.
Where to go next:
- Author a config — every field a config can hold.
- Load your own data — TSV, JSON, BED, and inline data.
- Theme the viewer — the full token and
::partreference. - Configuration vs data — what your config controls versus what a data provider supplies.
- Escape hatches — custom parsers, kinds, and themes when the built-ins aren’t enough.
- Playground — edit any config live and share it by link.
- Starter Kit — a no-build template repository to copy and go.
- Runnable examples — the CI-validated configs this tutorial draws from.
Licensed under CC BY 4.0.